

;)
;)
;)
;)

;)
;)
Click here to view a short video overview of the, "Categories" area.
To access the Location Setup area, you need to first be sure you’re logged in at the Super Admin permission level.
Choose the "Settings" button and select the "Categories" option from the drop-down menu.

Adding SignUp Tags.
- From the "Category" list view, choose the "Tags" tab from the top-right of the page.
- Click the "Add New" button to create a new Tag
- Name the Tag.
- Click the "Save" button to save the new Tag.
Editing Existing SignUp Tags.
- To edit a pre-existing Tag name, click on the Tag name to make it editable, type your revision and then save it by clicking the small "x" to the right of your Tag name.

Deleting a SignUp Tag.
- To delete a Tag, mouse over to the far-right of the Tag row to reveal the "Delete" button and select it, and choose "Yes" at the delete pop-up dialog box.
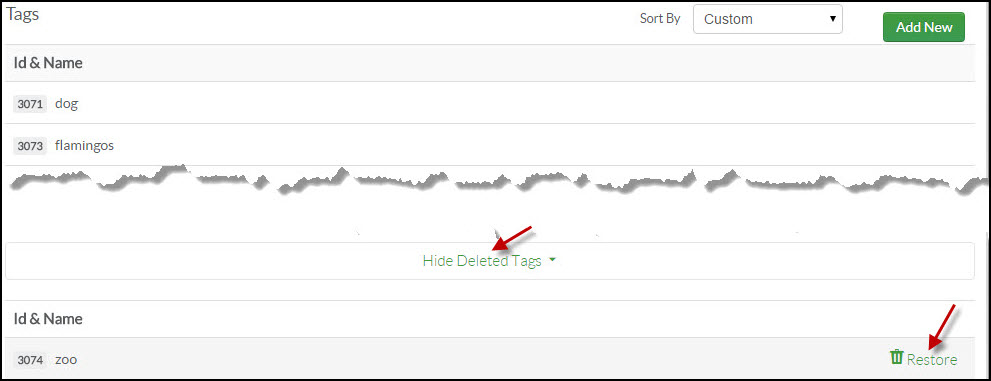
Restore a Deleted SignUp Tag.
It should be noted that deleting the Tag does not completely remove the Tag from the system, it just "flags" it as deleted in the database. So, if the Tag is still tied to an event, it will still show, it just cannot be added to a new event (or when editing or copying an existing event). By leaving the Tag hidden in the system, it can be reactivated later if staff policy changes and for the sake of data integrity when accessing old records and running reports.
Restore a deleted Tag back to the list if needed by following these steps:
- Scroll to the bottom of the Tag list and select the "Show Deleted Tag" option to reveal the deleted Tag list
- Mouse-over the deleted Tag and click on the "Restore" button to the far-right of the Tag.
Changing the Display Order of Tags in SignUp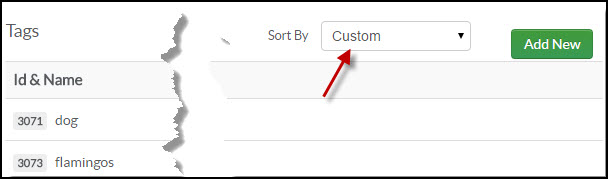
Once you have your Tags input into your system, you can change the order in which they appear in the list for your patrons and staff. For example, you may want to change the order of how your Tags appear to your patrons based off of the most popular, rather than by the default alphabetical order.
- First choose "Custom" from the "Sort By" drop down list on the top-right area of the Location Setup list page.
- Now, drag and drop the Tags in the order you want.


 Add Comment