Home » Categories » Multiple Categories

Patron Account Creation By Staff in Spaces

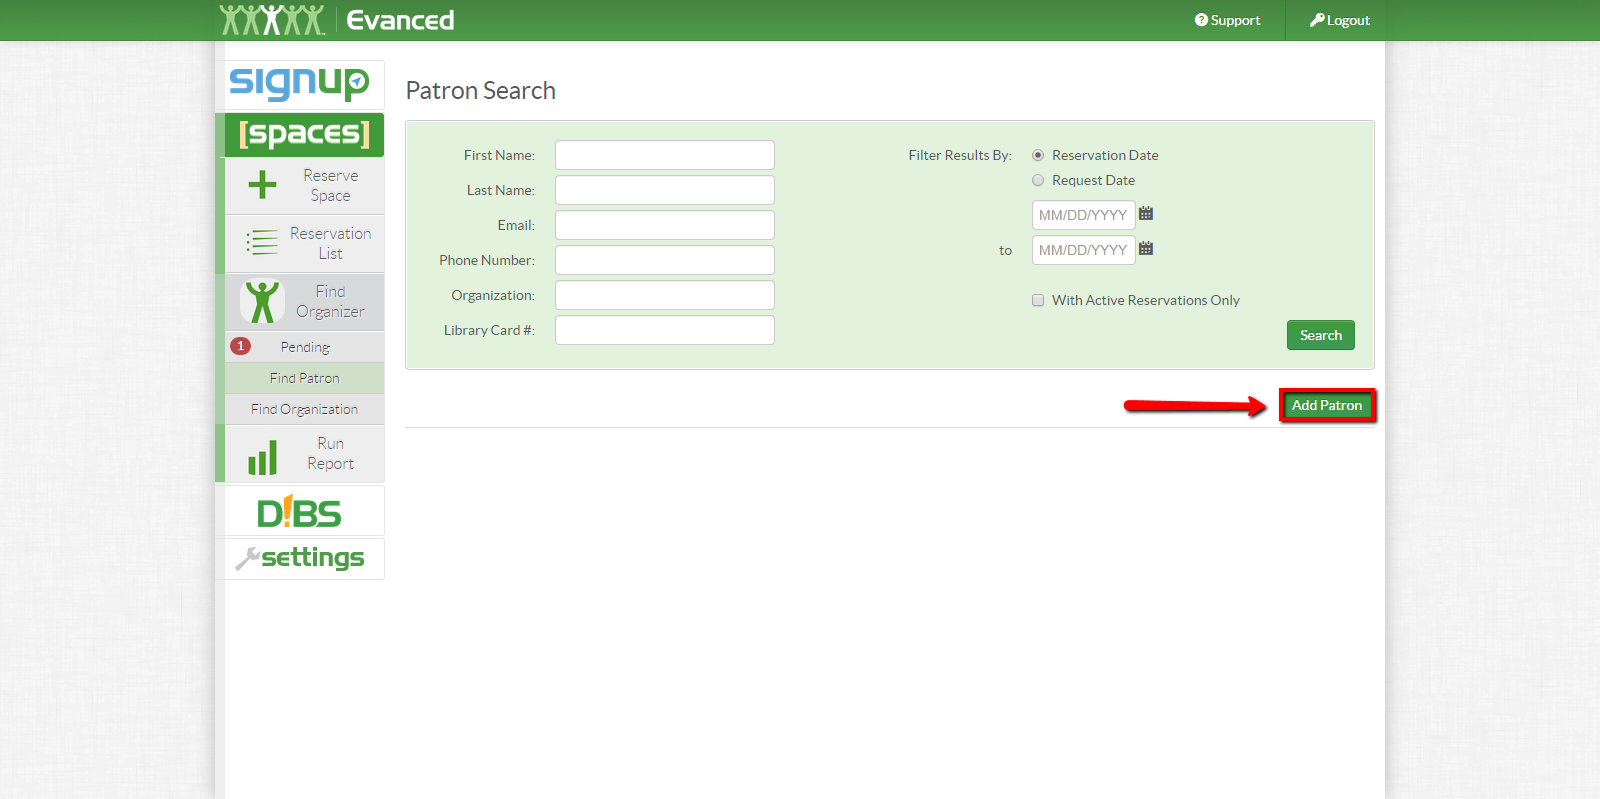
In the Spaces software, a staff user can click the Find Organizer -> Find Patron buttons on the initial page of the software after logging in as an admin level user to create a patron account.


To begin, one will then want to click the Add Patron button on the right-hand side of the screen. 


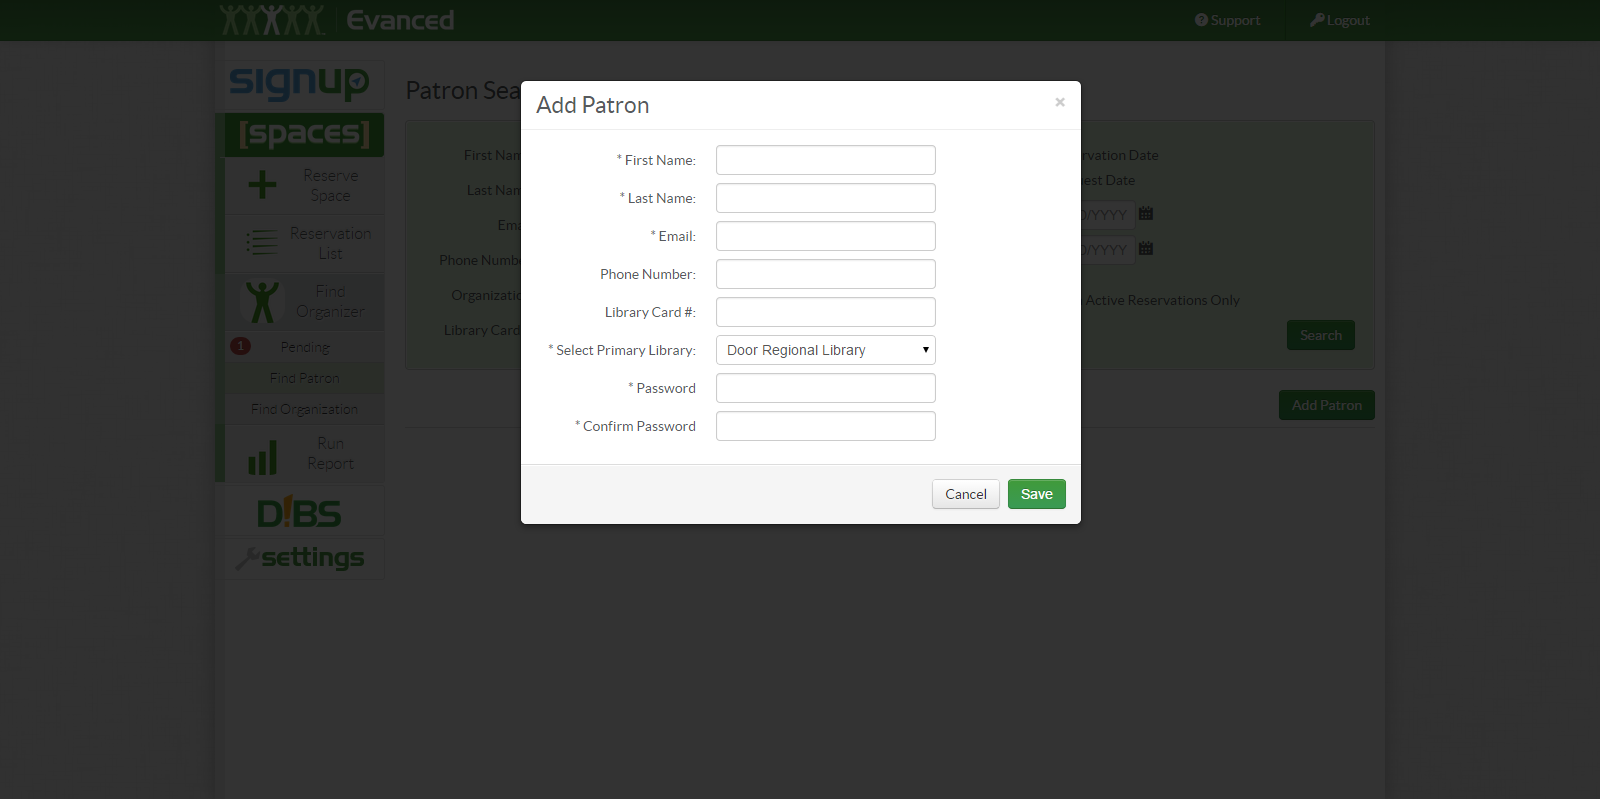
One would then want to fill out the Add Patron form.


Currently, the fields present on the form are:

  • First and Last Name (entry required)
  • Email (entry required)
  • Phone Number (entry optional)
  • Library Card # (entry optional)
  • Primary Library (entry required)
  • Password (entry required)


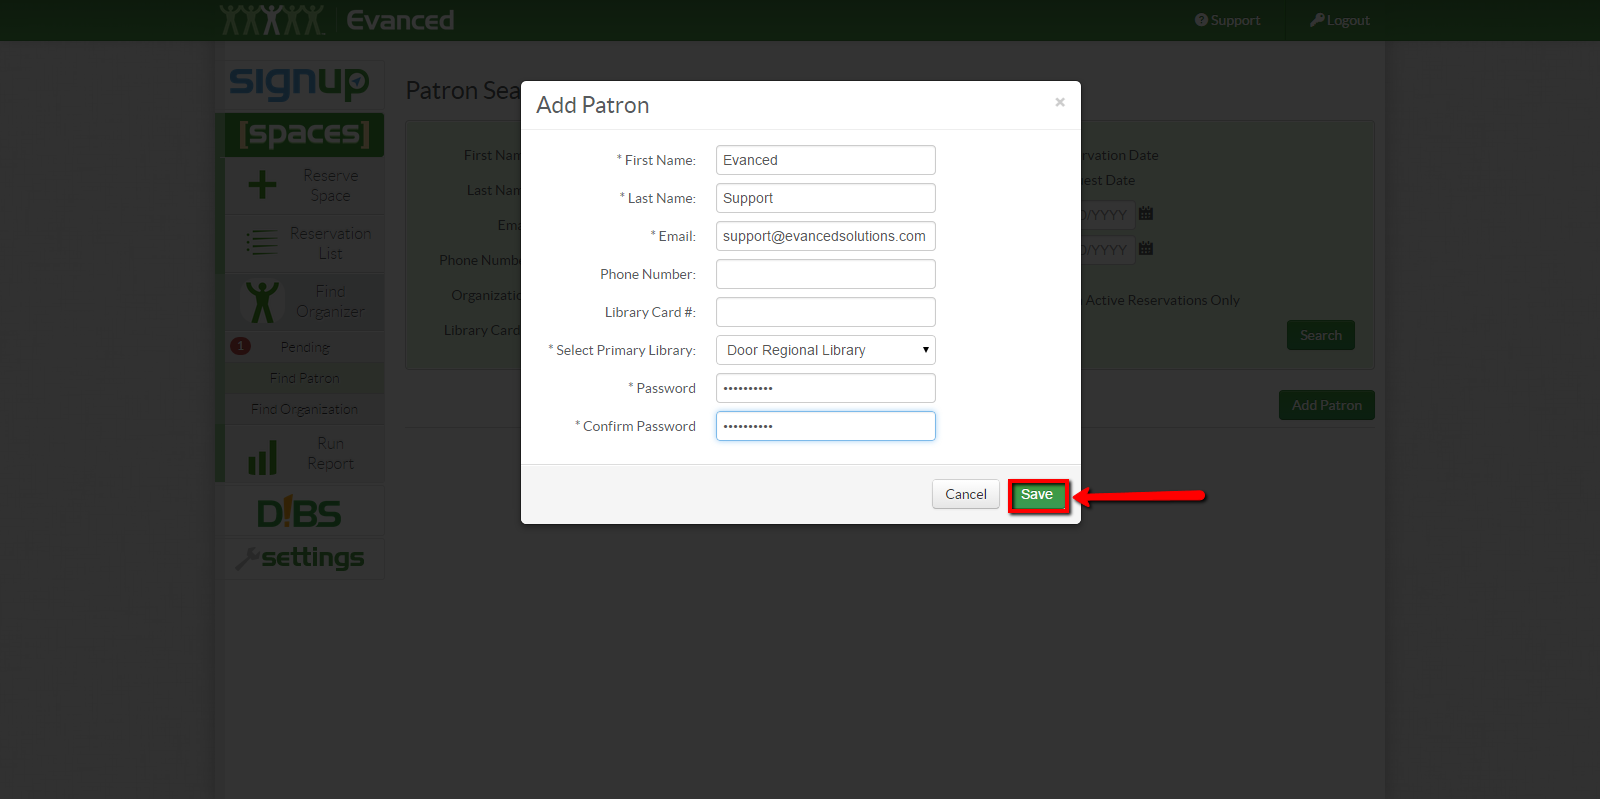
After filling out the necessary fields, one should click the Save button at the bottom of the form.


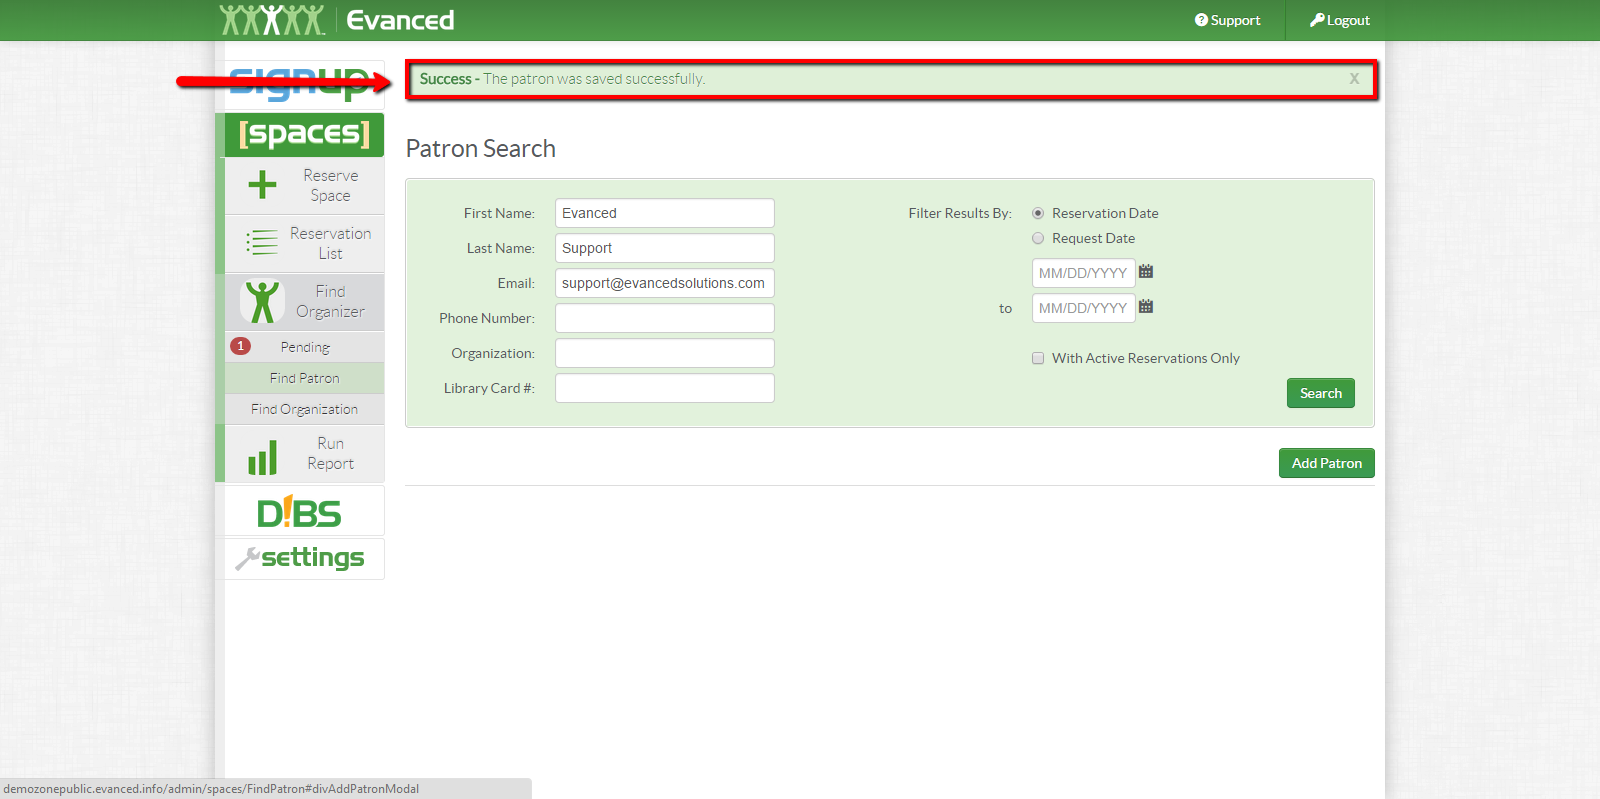
The system will then give a confirmation that the patron was added successfully.

Custom Fields
  • Applicable To: Staff Users
  • Attachments: No
  • Summary: Use the Staff-Side of the System
0 (0)
Article Rating (No Votes)
Rate this article
  • Icon PDFExport to PDF
  • Icon MS-WordExport to MS Word
Attachments Attachments
There are no attachments for this article.
Comments Comments
There are no comments for this article. Be the first to post a comment.
Related Articles
Spaces Cost Setup: Location Costs Tab
Viewed 2402 times since Thu, Oct 24, 2019
Enhancements to SignUp, Spaces, and D!BS
Viewed 6205 times since Tue, Sep 17, 2019
Patron Accounts in Spaces
Viewed 4258 times since Tue, Sep 10, 2013
Spaces Time Slider and Full-Day Reserving
Viewed 3215 times since Tue, May 9, 2017
Default Security Roles in New Core Application
Viewed 4622 times since Sat, Feb 10, 2018
Data Integrity in SignUp, Spaces, and D!BS
Viewed 5878 times since Wed, Dec 3, 2014
Product Flyer for Spaces
Viewed 3812 times since Wed, Oct 9, 2013
Keep Me Logged In
Viewed 5828 times since Wed, Oct 23, 2019
Evanced Privacy Policy
Viewed 4983 times since Wed, Aug 30, 2017
Exporting your data to a new product
Viewed 1017 times since Tue, Nov 21, 2023